Automate your DTF Cutting Workflow with PrimeCenter
March 13, 2025
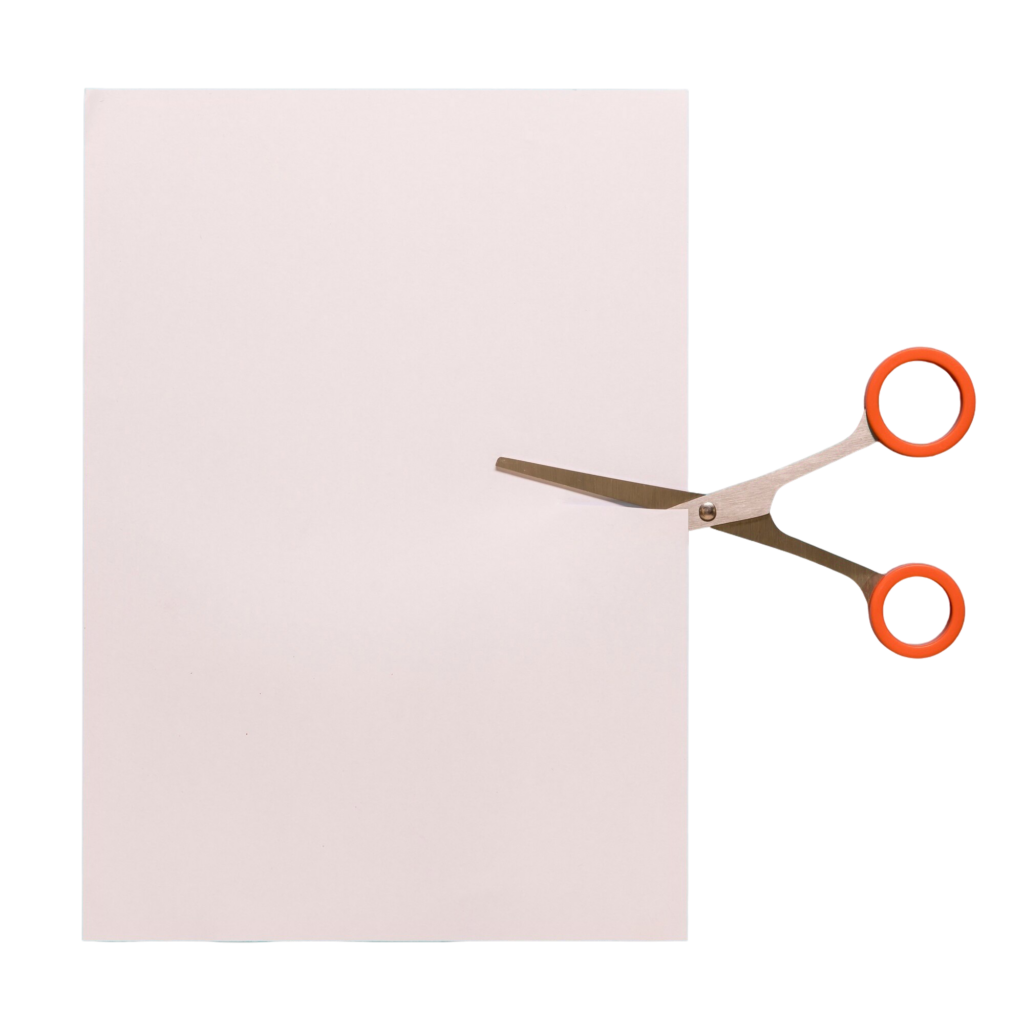
In DTF printing, many DTF printers are used to cut their DTF designs in a traditional, manual way. At some point, using scissors, cutters, and other manual tools becomes tiring.
After getting tired of these tools, the cycle begins, they start looking for alternatives. Despite the effectiveness of this method, you end up wandering in the same routine. Who wants to keep on doing repetitive tasks everyday? Absolutely no one.
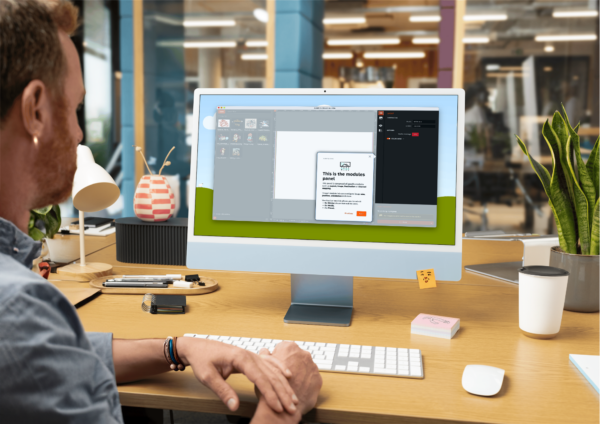
This is why DTF printers opt for cut and print workflow automation. It helps surpass this difficulty and bid farewell to the manual tools that have made their routines so monotonous. By using a prepress automation software like PrimeCenter, you can automate your DTF cutting process and reduce responsibilities, all by preparing your cut file beforehand.
In this article, we will show you how PrimeCenter will help improve your DTF cutting workflow experience and why it’s important to prepare your DTF cut files beforehand.
Table of contents
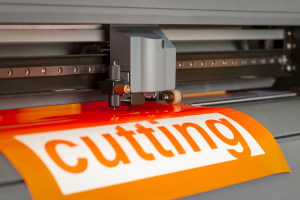
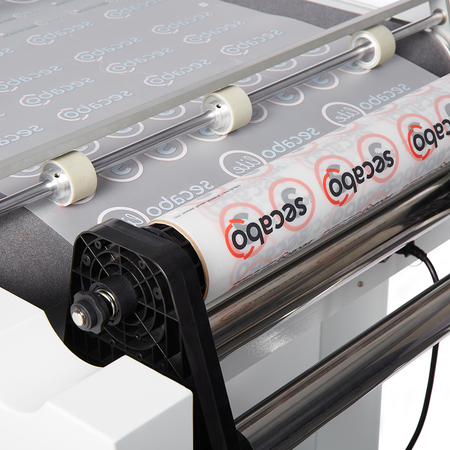
What is the Role of a DTF Cutter in DTF Printing?
A DTF cutter refers to a cutting machine used in Direct-to-Film (DTF) printing process.
- It is used to cut the film transfers and separate designs.
- After the design is printed on the film, the DTF cutter cuts the film around the design so it can be used for heat transfer.
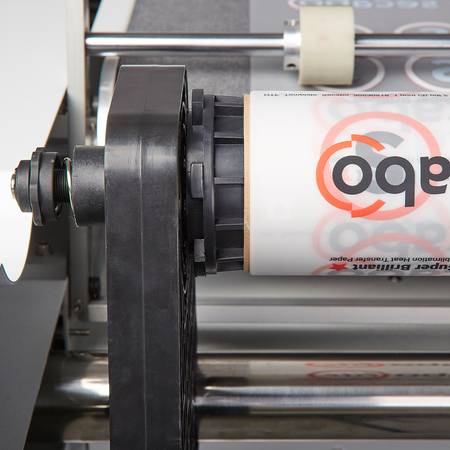
➾ You can check Secabo MultiCut Pro and Optiscout for more technical details.
📍 Why is It Important to Manage the Cutting file beforehand?

This works best for large DTF printing businesses who have a high DTF workflow and find it hard to complete repetitive and manual tasks like cutting rolls that contain multiple designs.
The DTF cutting automation method you have been looking for is finally at your fingertips.
- If you are using PrimeCenter for DTF cutting, it’s essential to prepare your cut files beforehand.
- The only thing you need to do at the end is peel off the film where the cut marks are located.
We will discuss below the importance of preparing your cut files beforehand and how it will benefit your DTF business.
❶ Print and Cut Separation
Lighter Responsibilities

Using PrimeCenter for DTF cutting will make your responsibilities lighter. In this way, you will avoid the worries generating from handling print and cut at the same time.
Less Thinking

No one wants extra thinking about DTF printing, cutting, and production all together. If your prepare your cut file beforehand, you will only need to print and submit to your DTF cutter.
Accurate Settings
PrimeCenter allows accurate settings that match your print everytime which reduces stress about the exactitude of the cut file. You won’t have to keep adjusting parameteres.
❷ Reduce Manual Tasks
- You can finally get rid of the scissors that have been wasting your time.
- Once your roll is printed, you can directly proceed with cutting.
- You won’t have to think about how to do it faster and which tool is better: scissors or cutters?
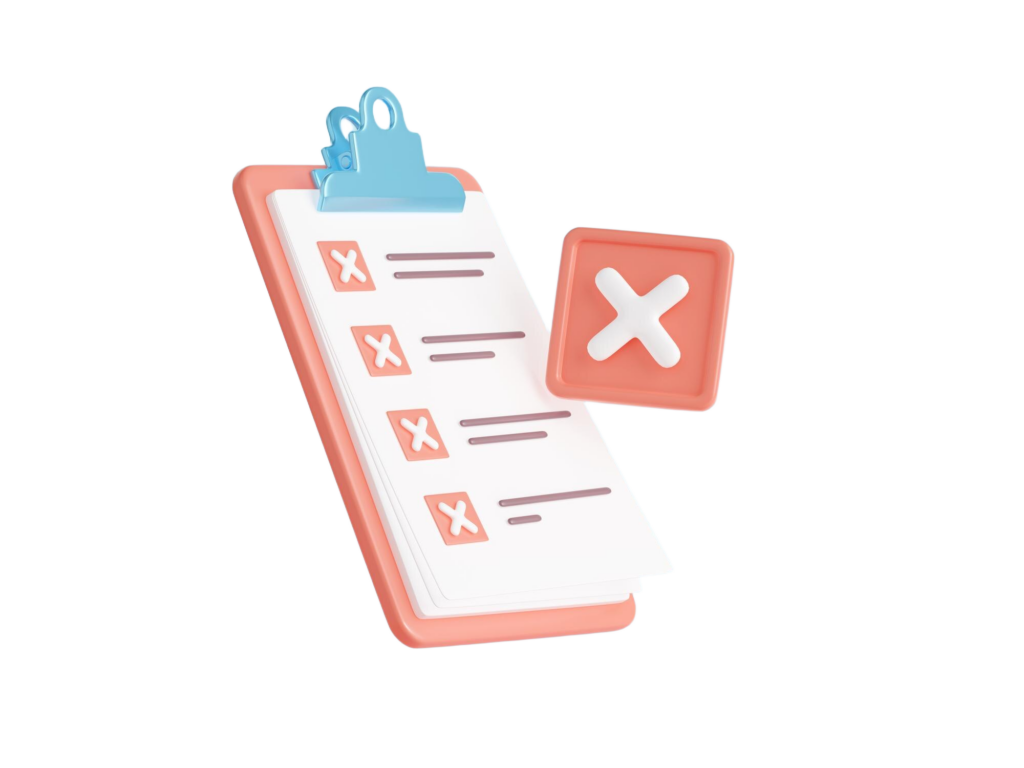
❸ Avoid Human Mistakes
You can cut your DTF designs using scissors but at what cost? In some cases, and due to repetitive tasks, human errors multiply.
- You will keep thinking about time and how to save more of it.
- Whenever you do not cut in the right path, you will spend more time adjusting the cut path around the image.
- Adjusting cut paths every time you cut in the wrong direction will cause you to waste more time on thinking and re-doing.
➾ The traditional cutting method is very repetitive when running a large DTF business.
What Do you Need?
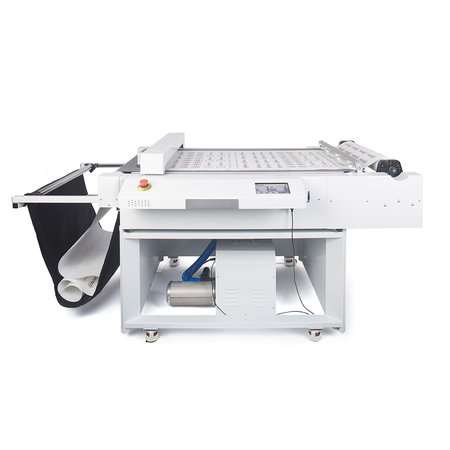
With PrimeCenter 3.4, you can accelerate your DTF cutting process. Now, it’s possible to export cut files tailored specifically for Secabo DTF MultiCut Pro and Optiscout cutters. Your cut files are generated in a folder. The only things you need are: PrimeCenter, and one of the following cutters: Secabo DTF MultiCut Pro or Optiscout.
╰┈➤ Click on the logos below to learn more about the tools you need.
How Can you Do it?
➀ Assign your license to your driver and configure it.
➁ Select the DTF option: this cutter can be used for both standard printing and Direct-to-Film printing. Depending on your application, you can switch the output mode of the cut driver in the cutters tab in PrimeCenter.
➂ Define spot colors for cutting elements: This allows you to define a spot color name for cut marks and the optical code. These are the most common names used by most RIP software.
A Short Overview of Secabo MultiCut Pro Driver
Shapes
The cutter is programmed to use one single shape, a circle that is always 5mm in size. You won’t have to change anything in PrimeCenter.
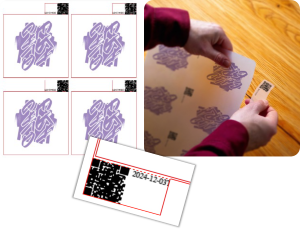
Placement
The cutter also needs to know where to start cutting, and it uses a special mark to show this origin point, and PrimeCenter does this automatically for you. Your cut marks are automatically placed at the corners of your design. The QR code can only be placed at the origin, because it is specified by the cutter.
The Perforated Method
Perforated marks are small, evenly spaced cuts made along a design. They are used to:
- Create a series of small dots or dashes that you can use for specific purposes or to create tear-off annotations.
- These dots are the perforations that allow the paper or material to be torn easily along that line (where the dots are).
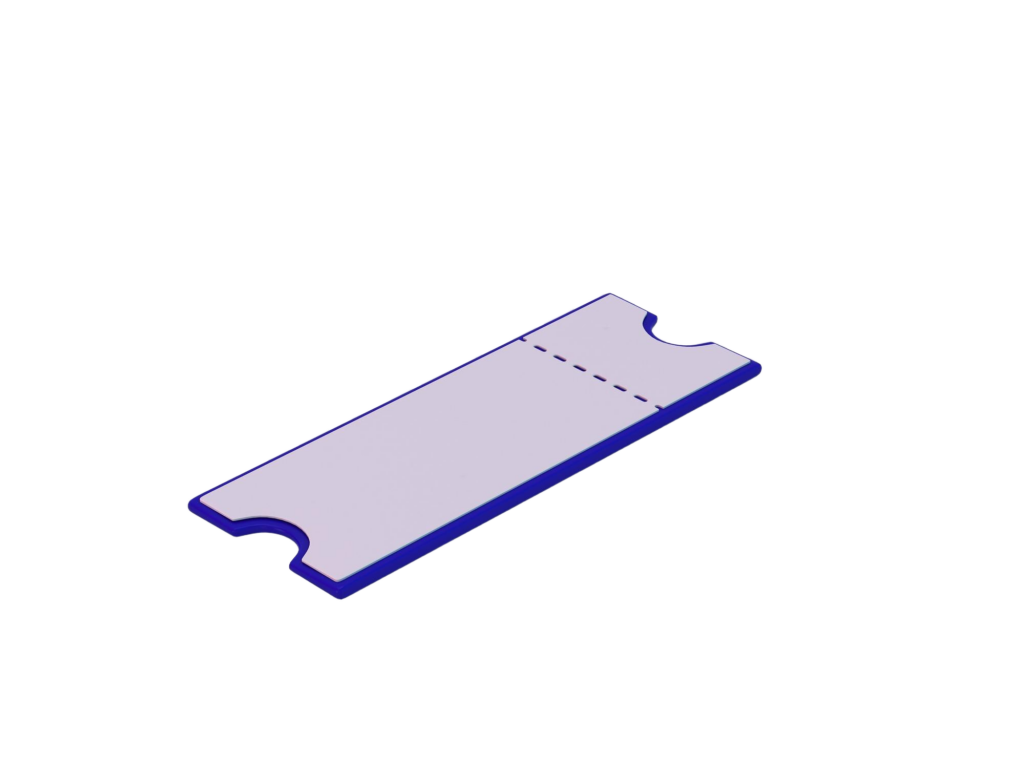
💡 For example, ticket stubs often have these tiny cuts that help people easily tear off a portion of the ticket.
When cutting, the cutter normally follows the plain cut method, but sometimes you can choose a perforated cut method for specific print purposes.
- This can be set in the Standard or DTF output modes.
- If you add a trimbox to your design in PrimeCenter, you will be able to peel off your annotations using a perforated method.
All these settings help make sure you are using the full potential of your cutter with PrimeCenter and use a plain or perforated method according to your needs.
Curious about PrimeCenter?
If you’d like to learn more about how PrimeCenter could benefit your DTF business, contact us for a custom demo with our experts.
Related articles